

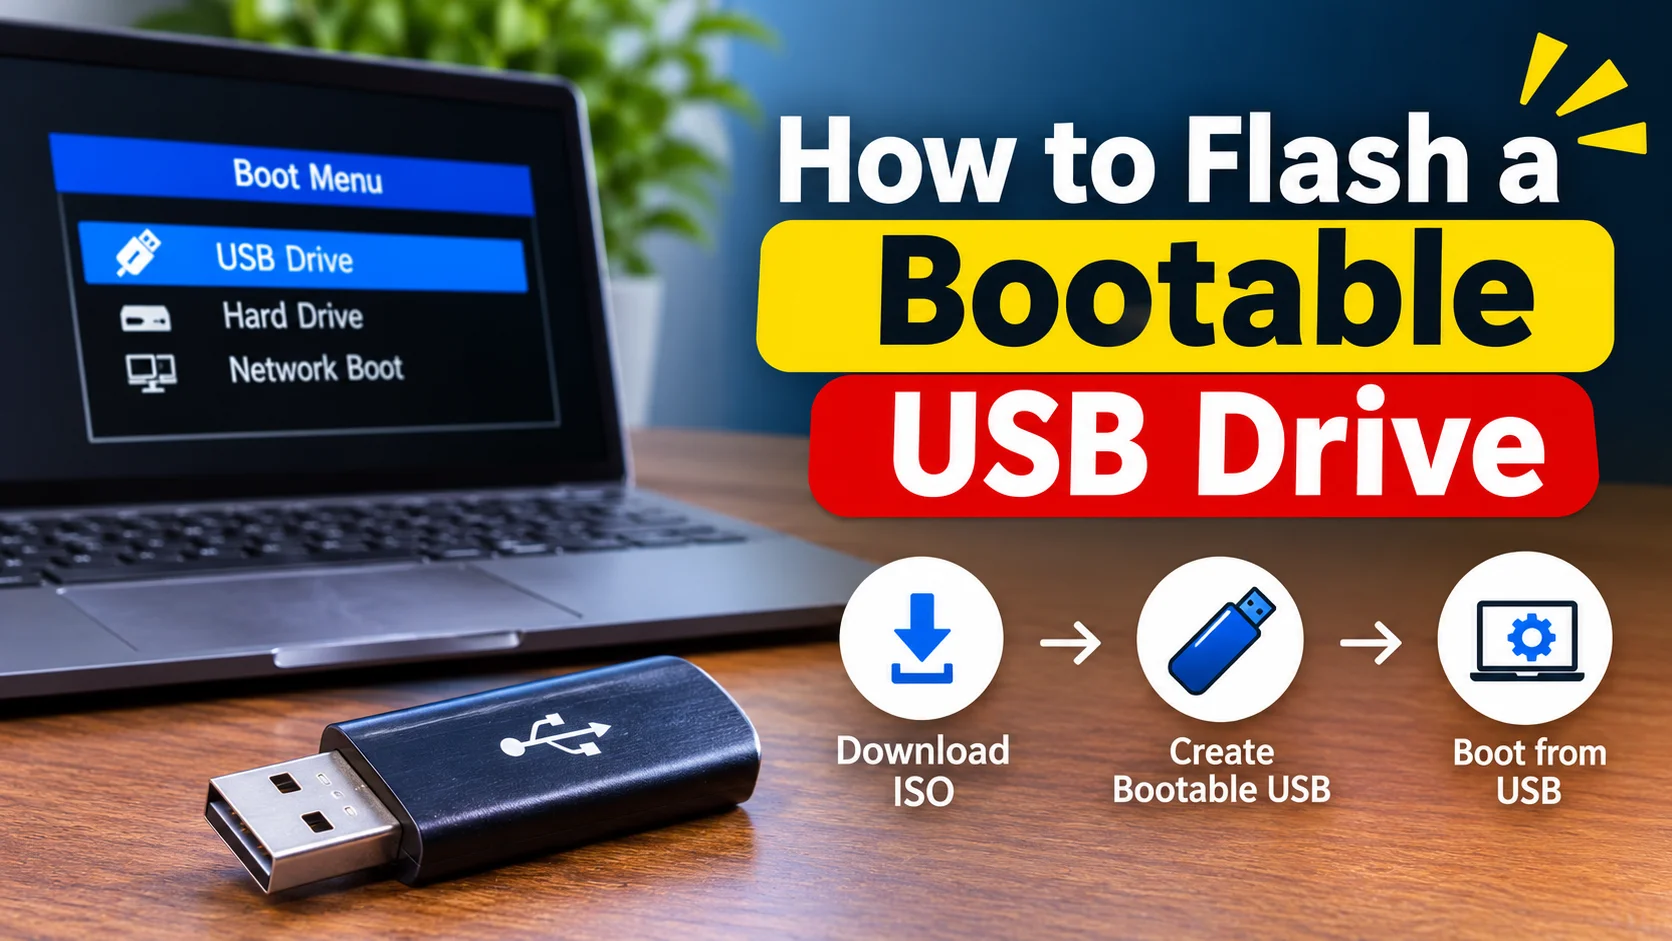
Creating a bootable USB drive is one of the most useful computer skills you can learn. Whether you want to install Windows, set up Linux, upgrade your operating system, or repair a computer that won’t start, a bootable USB drive can help.
Many people think the process is difficult, but it is actually quite simple. If you follow the right steps, you can create a working bootable USB drive in just a few minutes. In this guide, you’ll learn how to flash a bootable USB drive safely and correctly using easy-to-follow instructions.
What Does a Bootable USB Drive Actually Do?
A bootable USB drive is a normal flash drive with a special setup. It holds an operating system file that your computer can start from. Your computer reads the drive first, before it looks at the hard disk.
People use these drives for many jobs. You can install Windows, try Linux, or repair a broken system. Some people even run antivirus tools from them.
The word “flashing” simply means writing an image file onto the drive. The image file is often called an ISO. Think of it as a full copy of the operating system packed into one file.
What You Need Before You Start
Good prep saves you from headaches later. Gather a few things first, and the process will go smoothly.
The Right USB Drive
Pick a drive with at least 8 GB of space. Windows 11 needs about 6 GB for its ISO file. Linux files are often smaller, but 8 GB still gives you room.
Choose a drive from a trusted brand. Cheap, no-name drives often fail halfway through. A fast drive also saves you time.
A Clean ISO File
Download your ISO file from the official website only. For Windows, visit Microsoft. For Ubuntu, visit the Ubuntu site. Random download sites can hide harmful files.
After the download, check the file size. A tiny file usually means something went wrong. Many sites also list a checksum that lets you confirm the file is safe.
A Working Computer
You need a second computer that works well. You will use it to create the drive. The broken computer cannot help you here.
A Backup Plan
Flashing erases everything on the drive. Copy your photos, notes, and files somewhere else first. Trust me, you do not want to lose that one important document.
Best Tools for Flashing a USB Drive
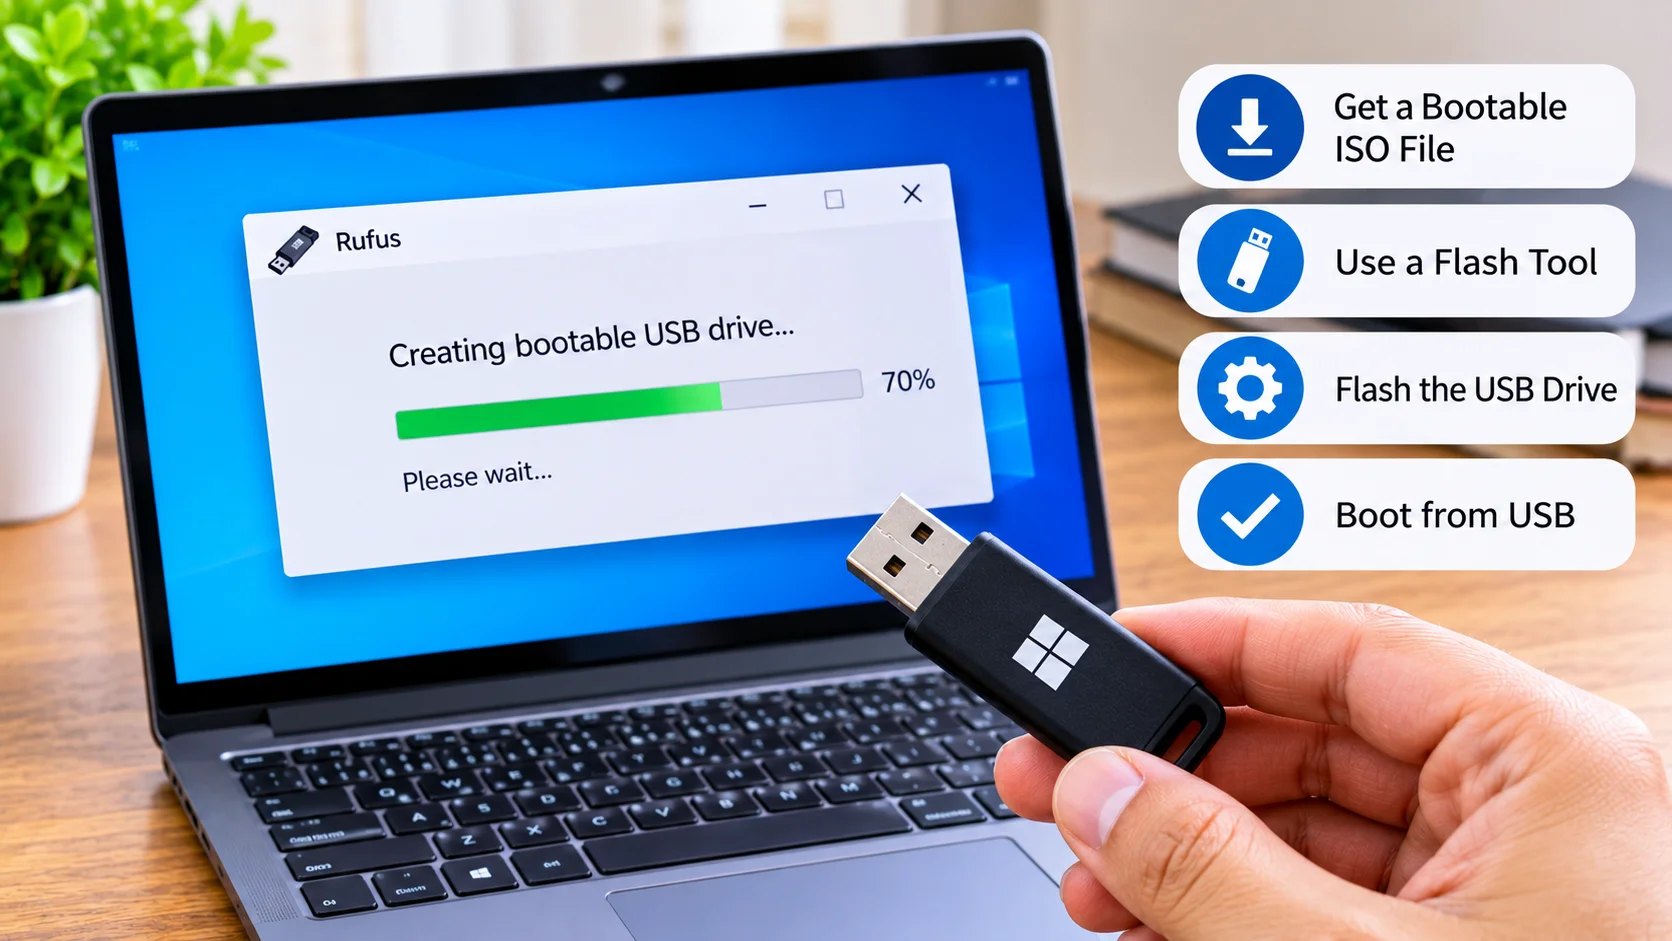
Many free tools can write an ISO file to a USB drive. Each one works a little differently. The table below compares the most popular choices.
| Tool | Works On | Best For | Difficulty |
|---|---|---|---|
| Rufus | Windows | Windows and Linux installs | Easy |
| balenaEtcher | Windows, Mac, Linux | Simple one-click flashing | Very easy |
| Ventoy | Windows, Linux | Holding many ISO files on one drive | Medium |
| Media Creation Tool | Windows | Official Windows installs | Very easy |
| Terminal (dd command) | Mac, Linux | Advanced users | Hard |
Beginners should start with Rufus or BalenaEtcher. Both tools are free and light. They also warn you before they erase anything.
How to Flash a Bootable USB Drive With Rufus
Rufus is a favorite for Windows users. It is small, fast, and clear. Here is how to use it.
Step 1: Download and Open Rufus
Go to the official Rufus website and download the latest version. You do not need to install it. Just double-click the file to open it.
Step 2: Select Your USB Drive
Plug in your flash drive. Rufus should show it under the “Device” menu. Check the name and size twice, because Rufus will wipe this drive.
Step 3: Choose Your ISO File
Click the “Select” button. Browse to your ISO file and open it. Rufus then fills in most settings on its own.
Step 4: Pick the Right Settings
Look at the “Partition scheme” option. Choose GPT for newer computers. Choose MBR for older ones that use legacy BIOS.
Not sure which one your computer uses? Most machines made after 2012 work fine with GPT. When in doubt, leave the default setting alone.
Step 5: Click Start and Wait
Press “Start” and confirm the warning. Rufus will now write the files. This usually takes 5 to 15 minutes, depending on your drive speed.
When the bar turns green, you are done. Eject the drive safely before you pull it out.
How to Flash a Bootable USB Drive on a Mac
Mac users have a few good options too. The easiest one is BalenaEtcher. It works the same way on Mac, Windows, and Linux.
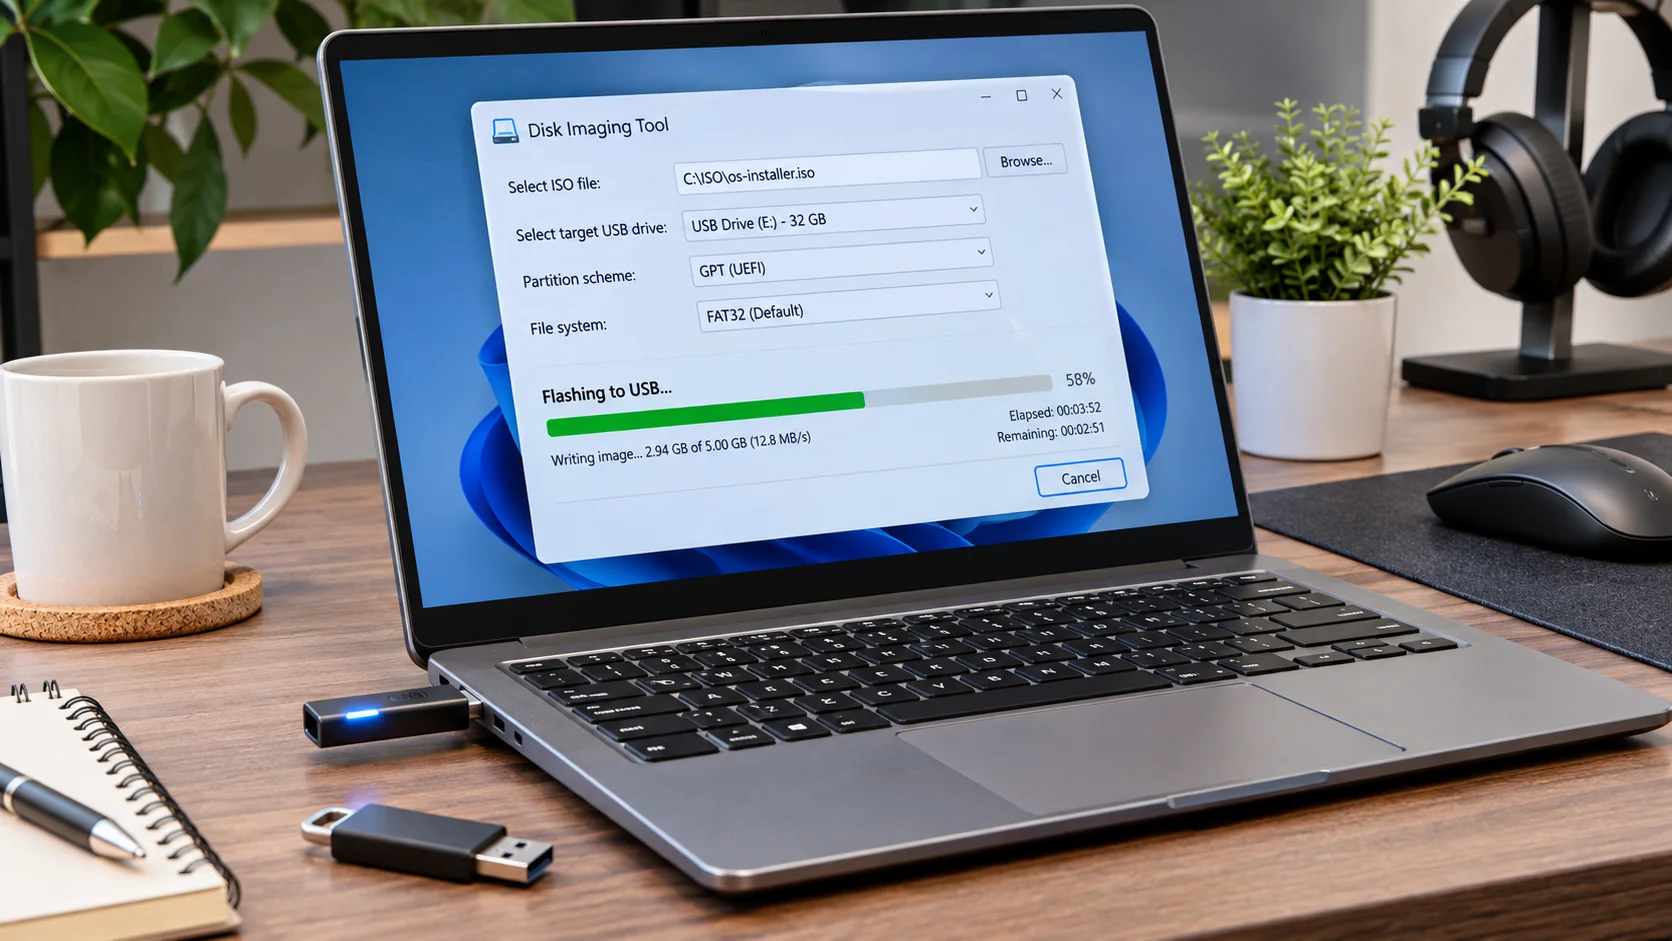
Open the app and click “Flash from file.” Pick your ISO. Then choose your USB drive and click “Flash.” That is all there is to it.
Etcher also checks the drive after writing. This step catches errors early. It saves you from finding a bad drive at the worst time.
Prefer the Terminal? You can use the dd command. However, one wrong letter can erase the wrong disk. Most beginners should skip it.
How to Boot From Your New USB Drive
Creating the drive is only half the job. Now you need to tell your computer to start from it. This part confuses many people, but it is simple once you know the trick.
Open the Boot Menu
Plug the drive into the computer you want to fix. Restart it. Right away, tap the boot menu key again and again.
The key changes by brand. Here are the common ones:
- Dell: F12
- HP: F9 or Esc
- Lenovo: F12 or Novo button
- Asus: F8 or Esc
- Acer: F12
- Mac: Hold the Option key
Pick Your USB Drive
The boot menu shows a list of devices. Choose the one with “USB” in its name. Press Enter, and your computer will start from the drive.
Change Secure Boot If Needed
Sometimes the computer ignores your drive. Secure Boot may be the cause. Open your BIOS settings and turn it off for a moment.
Many modern Linux and Windows images work with Secure Boot on. Still, a few tools do not. You can turn it back on after you finish.
Common Mistakes and Quick Fixes
Even careful people run into trouble. Don’t worry if something goes wrong. Most problems have simple fixes.
The Drive Does Not Show Up in the Boot Menu
First, try a different USB port. A port on the back of a desktop often works better than a front one. Then check that you used the right partition scheme.
The Flash Fails Halfway
A bad drive or a bad ISO file usually causes this. Download the ISO again and try a different drive. Also, close other programs while you flash.
The Drive Shows Less Space Afterward
This is normal. The flashing process changes the drive format. Your computer may show only a small part of the space. You can restore the full size later by formatting the drive.
Smart Tips for Better Results
A few small habits make a big difference. Try these the next time you flash a drive.
Use a USB 3.0 drive and port when you can. They write data much faster than older USB 2.0 drives. A 10-minute job can drop to 4 minutes.
Label your drive with tape and a marker. Write the system name and date. You will thank yourself six months from now.
Keep one spare drive for emergencies. A repair drive in your drawer can save a bad day. It costs very little and works when you need it.
Frequently Asked Questions
Can I use any USB drive to make a bootable drive?
Yes, most USB drives work well. Pick one with at least 8 GB of space and a trusted brand name.
Does flashing a USB drive delete my files?
Yes, it erases everything on the drive. Back up your files before you start.
How long does it take to flash a bootable USB drive?
Most jobs take 5 to 20 minutes. A fast USB 3.0 drive finishes sooner.
Can I use the same drive again for storage?
Yes, you can. Format the drive in your computer, and it will work like new.
Is Rufus safe to use?
Yes, Rufus is safe when you download it from the official site. Avoid copies from unknown pages.
Final Thoughts
Now you know how to flash a bootable USB drive from start to finish. You need a good drive, a clean ISO file, and a simple tool like Rufus or balenaEtcher. Then you set up the drive, open the boot menu, and start your install or repair.
Remember the key points. Back up your files first. Download from official sites. Check your settings before you press start. With these habits, you will finish the job with confidence.
Give it a try today. Once you flash your first drive, you will wonder why it ever felt hard.