

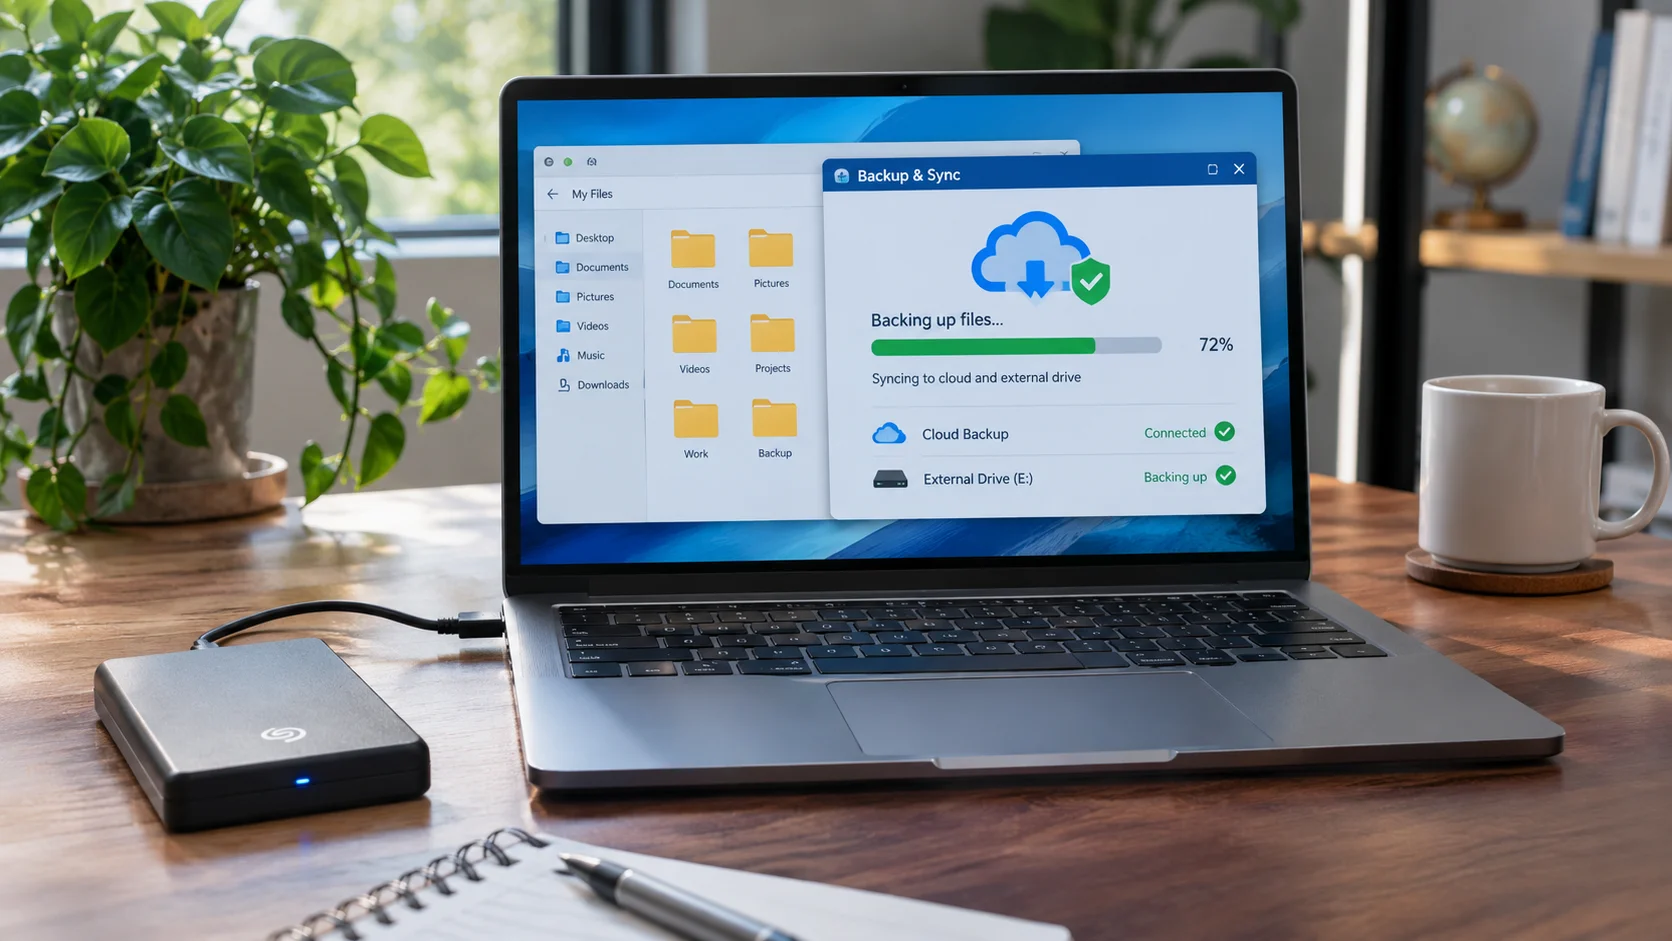
Picture this. You open your laptop one morning, and it won’t start. Your family photos, tax papers, and work files sit inside, and you have no copy anywhere else. That moment feels awful, and it happens to millions of people every year. That sinking feeling is common, but you can avoid it. In this guide, you will learn how to back up files to external drive/cloud storage in plain, easy steps. You do not need to be a tech expert. You just need a little time and a good plan.
Why Saving a Second Copy Matters More Than You Think
Most people think about backups only after something goes wrong. By then, it is often too late. Hard drives fail, phones fall in water, and laptops get stolen on buses.
Hardware is not the only danger. Ransomware can lock your files and demand money. A simple mistake can also wipe a folder in one click. Even a spilled cup of coffee can end a laptop’s life.
Here is a fact that surprises many people. Most hard drives last only three to five years, and some fail sooner. A backup gives you a safety net for that day.
Think of a backup like a spare house key. You hope you never need it, but you feel calm knowing it sits in a safe place. So let’s look at your options.
Your Two Best Backup Choices: Physical Drives and Online Storage
You have two main ways to protect your data. You can copy files to a drive you hold in your hand. Or you can send them over the internet to a company’s servers.
Each choice has strengths and weak spots. Many experts suggest you use both. First, let’s meet each one.
External Drives: Your Own Pocket-Sized Vault
An external drive is a small device that plugs into your computer with a USB cable. You copy your files onto it, and then you store it safely. It works without Wi-Fi, so you can use it anywhere.
You can buy two main types. A hard disk drive (HDD) costs less and holds a lot of data. A solid-state drive (SSD) costs more, but it runs faster and handles bumps better.
For most people, a 1 TB or 2 TB drive works well. That space can hold tens of thousands of photos or many years of documents. You pay once, and you own the drive.
Cloud Storage: Your Files, Safe in Another Place
Cloud storage keeps your files on remote servers. You reach them through an app or a website. If your laptop dies, you log in on a new device and get everything back.
Popular choices include Google Drive, OneDrive, iCloud, Dropbox, and Backblaze. Most offer a small free plan. For example, Google gives you 15 GB free, while iCloud gives you 5 GB.
The big benefit is distance. If a fire or flood hits your home, your cloud files stay safe far away. The trade-off is a monthly or yearly fee once you need more space.
External Drive vs. Cloud: A Quick Side-by-Side Look
Not sure which one fits you? This table puts the key points in one place. Read it, and you will see why many people choose both.
| Feature | External Drive | Cloud Storage |
|---|---|---|
| Upfront cost | One-time purchase ($50 to $150 for most drives) | Often free for small plans |
| Ongoing cost | None | Monthly or yearly fee for more space |
| Internet needed | No | Yes |
| Backup speed | Fast over USB | Depends on your internet speed |
| Protection from fire or theft | Low if you keep it at home | High |
| Risk of drive failure | Yes, over time | Very low, since companies keep extra copies |
| Access from anywhere | Only when you carry the drive | Yes, from any device |
| Best for | Large files and full system copies | Important documents and photos |
As you can see, neither option wins every round. A drive gives you speed and control. The cloud gives you safety and easy access.
How to Back Up Files to an External Drive, Step by Step
Let’s start with the drive method. It takes about 15 minutes to set up. After that, your computer can do most of the work for you.
Step 1: Pick the Right Drive
First, check how much data you have. Open your main folders and look at their total size. Then buy a drive that holds at least twice that amount, so you have room to grow.
Look for a trusted brand and a warranty of at least two or three years. If you travel a lot, choose an SSD. It handles drops better than a spinning hard drive.
Step 2: Back Up on Windows
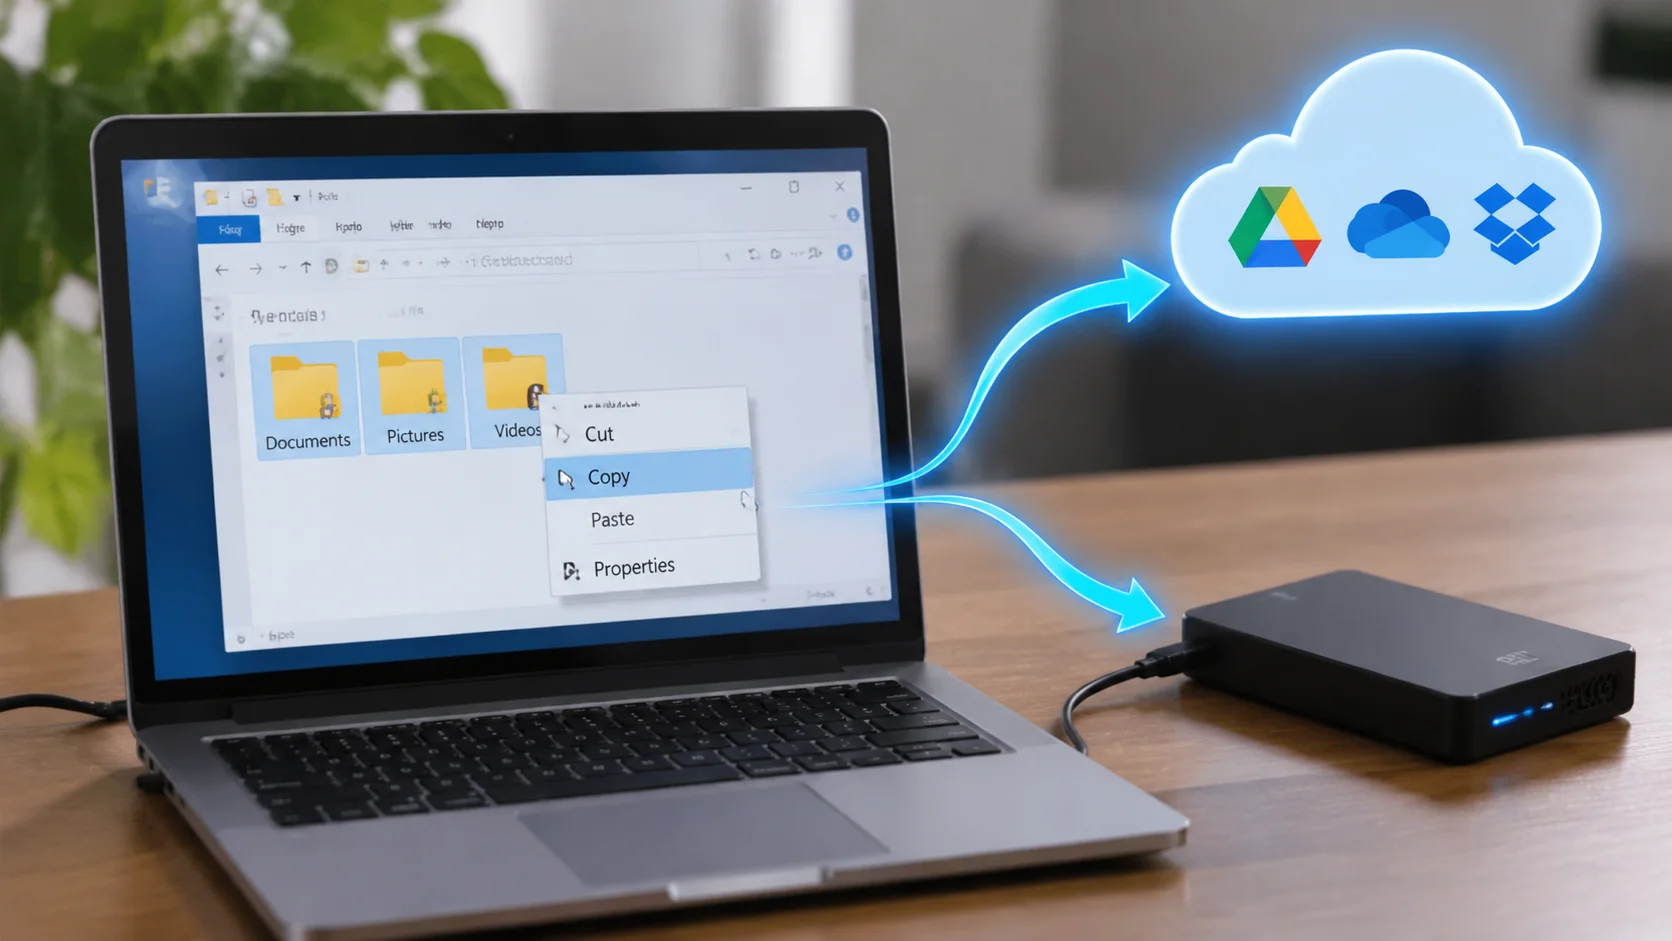
Windows includes a free tool called File History. Plug in your drive, then open Settings and search for “Backup.” Choose “Add a drive,” and then select your external drive.
Next, turn on automatic backups. Windows will copy your Documents, Pictures, Music, and Desktop folders. You can add or remove folders under “More options.”
Prefer to do it by hand? Open File Explorer, drag your folders onto the drive, and wait for the copy to finish. This works fine for a quick, one-time backup.
Step 3: Back Up on a Mac
Apple makes this part easy with Time Machine. Plug in your drive, and your Mac may ask if you want to use it for backups. Click “Use as Backup Disk,” and you are almost done.
If the pop-up does not appear, open System Settings and search for Time Machine. Add your drive there, and turn on automatic backups. Your Mac will then save hourly copies for the last 24 hours, daily copies for the past month, and weekly copies after that.
Step 4: Test Your Backup
Many people skip this step, but please don’t. Open your drive and look inside. Try to open a few files, such as a photo and a document.
A backup you have never tested is just a hope. Check it once a month, and you will catch problems early. This small habit takes two minutes.
How to Back Up Files to the Cloud, Step by Step
Now let’s move to the cloud. The steps feel a bit different, but they are just as simple. You can finish the setup over a cup of tea.
Step 1: Choose a Service That Fits Your Life
Start with the tools you already use. If you own an iPhone, iCloud makes sense. If you use Windows and Microsoft Office, OneDrive fits well. If you live in Gmail and Google Docs, Google Drive is a natural pick.
Need to protect a whole computer? Services like Backblaze back up everything automatically for a flat fee. That option suits people who do not want to choose folders by hand.
Also, think about price. Free plans fill up fast, especially with photos and videos. Plan to pay a few dollars a month if you have a lot to save.
Step 2: Install the App and Sign In
Download the service’s desktop app from its official website. Install it, and then sign in with your account. Always use a strong password and turn on two-step verification.
This extra login step blocks most hackers, even if someone steals your password. It takes only a minute to set up. Your files will thank you.
Step 3: Select Your Folders and Start Uploading
Next, tell the app which folders to protect. Start with the ones you would hate to lose, like Documents, Photos, and Desktop. Then click the sync or backup button.
Your first upload may take hours or even days if you have a lot of data. That is normal. Leave your computer on, keep it plugged in, and let it run overnight.
Step 4: Know the Difference Between Syncing and Backing Up
Here is a common trap. Syncing keeps the same files on all your devices. If you delete a file on your laptop, the sync tool often deletes it from the cloud too.
A true backup keeps older copies, even after you delete the original. Check whether your service offers “version history” or a “trash” folder. Most give you 30 days or more to restore deleted files.
The 3-2-1 Rule: A Simple Plan Pros Trust
IT experts love the 3-2-1 rule, and for good reason. It is easy to remember and works for almost everyone. Here is what it means:
- Keep 3 copies of your important files (the original plus two backups).
- Store them on 2 different types of media, such as your computer and an external drive.
- Keep 1 copy in a different place, such as the cloud or a drive at a relative’s home.
Let’s see how this looks in real life. Say you have wedding photos on your laptop. You copy them to an external drive, and you also upload them to Google Drive. Now you have three copies on two types of storage, with one stored far away.
That setup survives almost any problem. If your laptop dies, you use the drive. If your house floods, you use the cloud.
Common Backup Mistakes (and How to Dodge Them)
Even careful people make small errors. The good news is that you can avoid most of them with a little awareness. Here are the ones we see most often.
Keeping the drive plugged in all the time. A power surge can damage your computer and your drive together. Unplug the drive when you finish, or use a surge protector.
Storing the drive next to the laptop. If a burglar takes your bag, he takes both. Keep your backup drive in a different room, or better yet, a different building.
Forgetting about your phone. Many people protect their computer but ignore their phone. Turn on iCloud Backup for iPhone or Google One backup for Android. Your photos and contacts will stay safe.
Never checking the backup. Backups can fail without warning. A quick monthly check keeps you safe from nasty surprises.
Using only one method. One backup is better than none, but two are far better. Combine a drive and a cloud service when you can.
What Should You Back Up First?
You may wonder if you need to save everything. In an ideal world, yes. But if time or space is tight, start with the files you cannot replace.
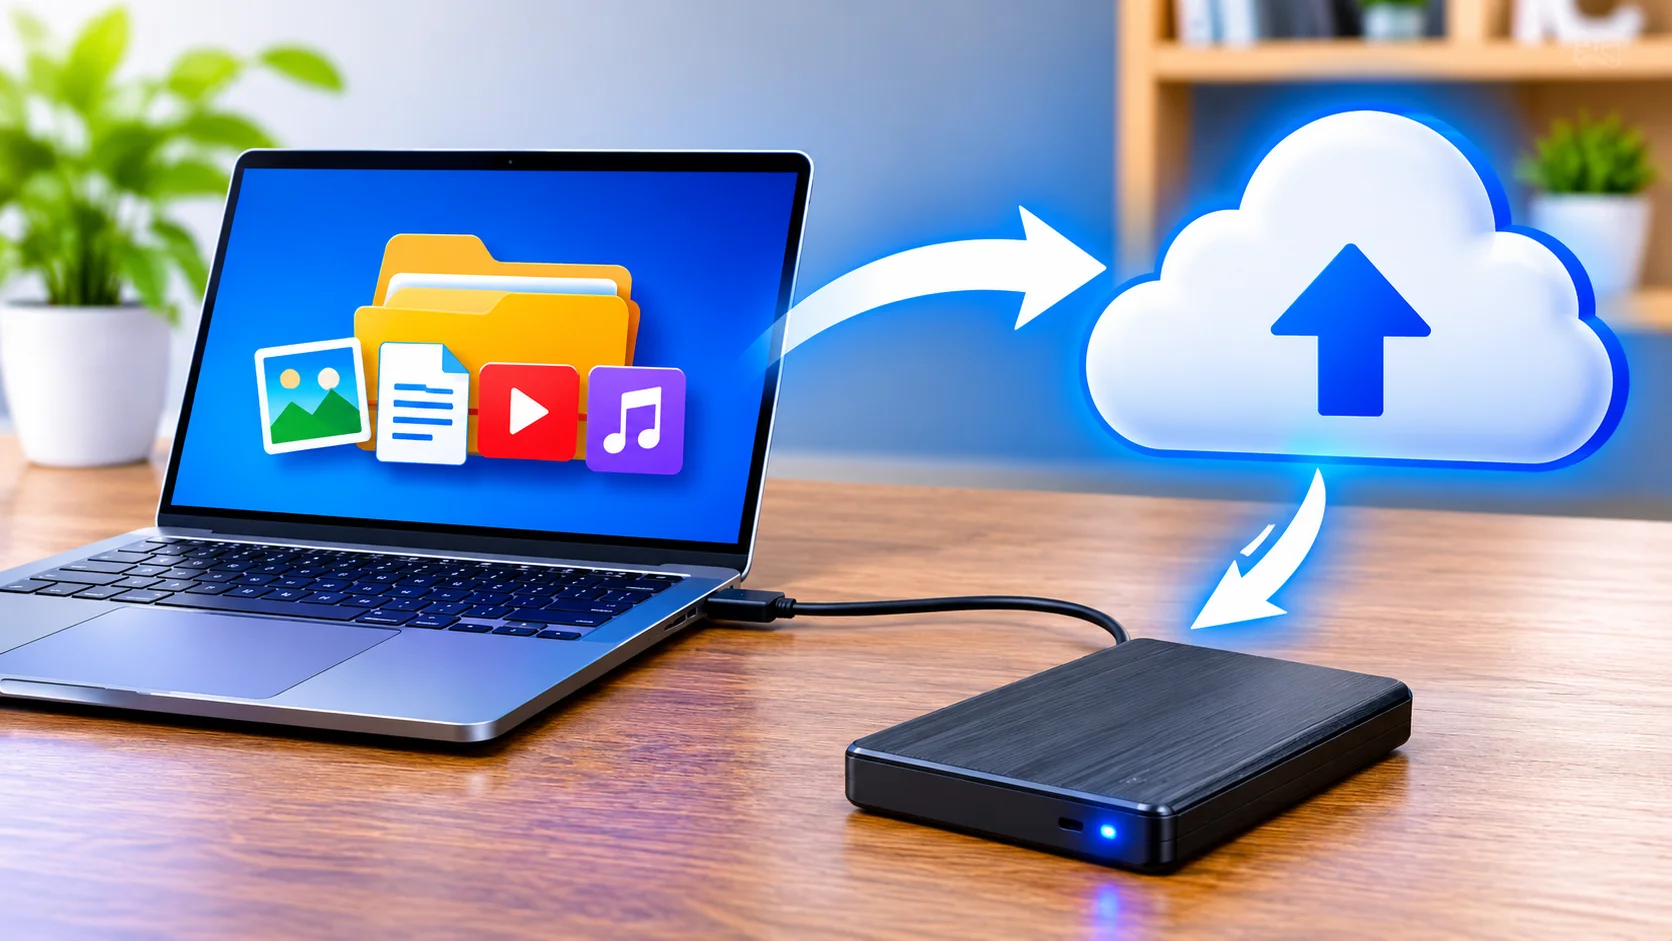
Photos and videos usually top the list. You can buy a new laptop, but you cannot retake your child’s first steps. Next, save personal documents like tax records, IDs, and contracts.
After that, add work files, school projects, and creative work. Finally, consider your apps, settings, and email archives. Programs can be downloaded again, so they come last.
How Often Should You Back Up?
The best schedule depends on how often your files change. If you work on your computer daily, set up automatic daily backups. Tools like File History, Time Machine, and cloud apps handle this for you.
If you only add new files now and then, a weekly or monthly backup may work fine. Mark a reminder on your phone calendar. Pick the first Sunday of each month, for example.
Here is a simple rule of thumb. Ask yourself, “How much work could I lose without crying?” If the answer is one day, back up daily. If the answer is one week, back up weekly.
Keep Your Backups Safe and Private
A backup holds copies of your private life, so protect it well. For drives, consider turning on encryption. Windows offers BitLocker on some versions, and Macs offer FileVault and encrypted Time Machine backups.
For cloud accounts, use a long, unique password. A password manager can create and store one for you. Also, turn on two-step verification, as we mentioned earlier.
Finally, watch for fake emails that pretend to come from your cloud provider. Never click a link that asks for your password. Go straight to the official website instead.
Your Backup Checklist
Ready to start? Use this short list to stay on track:
- Count how much data you have.
- Buy an external drive with enough space.
- Turn on File History or Time Machine.
- Sign up for a cloud service and install its app.
- Choose your most important folders.
- Test your backups once a month.
- Store your drive in a safe, separate place.
You can finish steps one through five in a single afternoon. After that, your computer handles the daily work. You only need to check in from time to time.
Frequently Asked Questions
How much storage do I need for a backup?
Aim for at least twice the size of the data you want to save. That extra room lets your backup grow over time.
Is cloud storage safe for private files?
Yes, if you use a strong password and two-step verification. Many services also encrypt your files, which adds another layer of protection.
Can I use one external drive for several computers?
Yes, but it works best when you split the drive into separate sections (partitions). That way, each computer keeps its own backup without mixing files.
How long does an external drive last?
Most drives last three to five years, although some fail sooner. Replace yours every few years and keep a second copy in the cloud.
Do I still need a backup if I use Google Drive or iCloud?
Yes, because syncing is not the same as a backup. A deleted or damaged file can vanish from every device, so keep a separate copy on a drive too.
Final Thoughts
Backing up your files does not take much time, money, or skill. A simple external drive gives you fast, private copies. A cloud service adds a second layer of safety that stays far from home.
Remember the key points. Use both methods when you can, follow the 3-2-1 rule, and automate your backups. Test them each month, and keep your drive in a safe place.
Now you know how to back up files to an external drive/cloud with confidence. Do not wait for a crash to teach you the lesson. Pick one step from this guide and finish it today. Your future self will thank you.